My district follows the Teachers College Reading and Writing Project (TCRWP) and is very big on using anchors to facilitate whole and small group teaching. I got the idea to grab a binder and fill it with all the resources I needed for my small groups after attending staff developments that focused on the importance of having reading and writing toolkits. It was at these trainings that I saw so many of our teachers and instructional coaches writing/drawing their toolkits inside scrapbooks, and I remember thinking that it was such a great idea!
However, I soon realized that I needed to be able to shuffle my mini anchor charts around depending on the content and/or unit I was currently teaching-something a scrapbook did not allow me to do. That’s when I got the idea to use a binder instead. And let me tell you, it was the BEST decision I ever made!
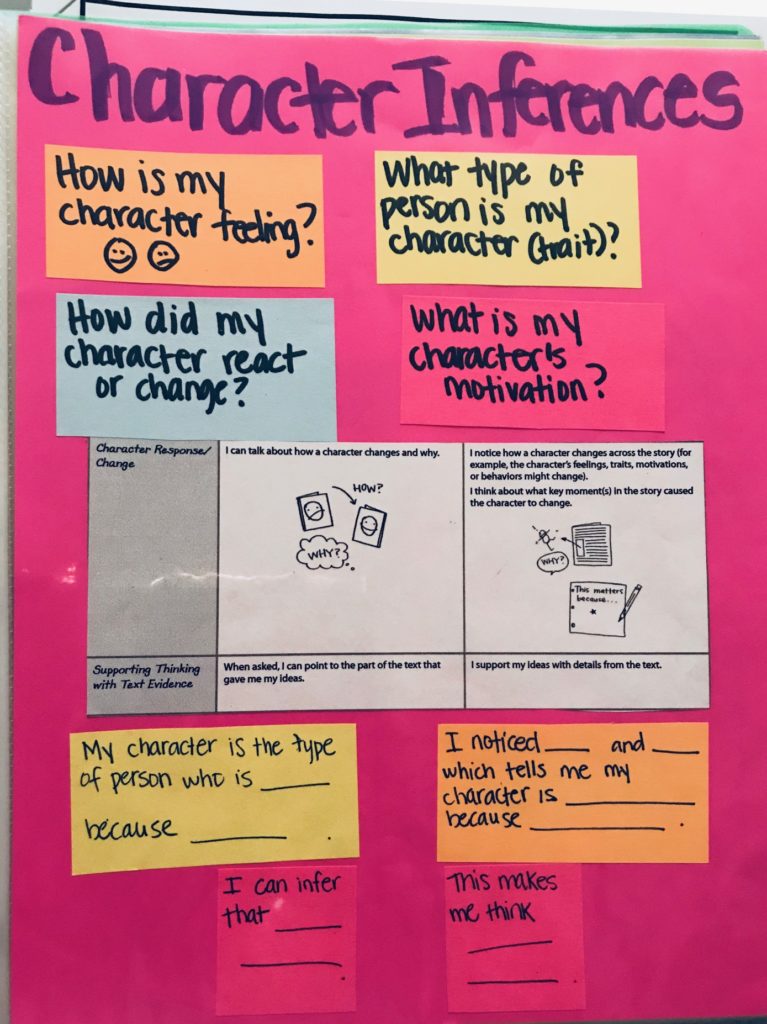
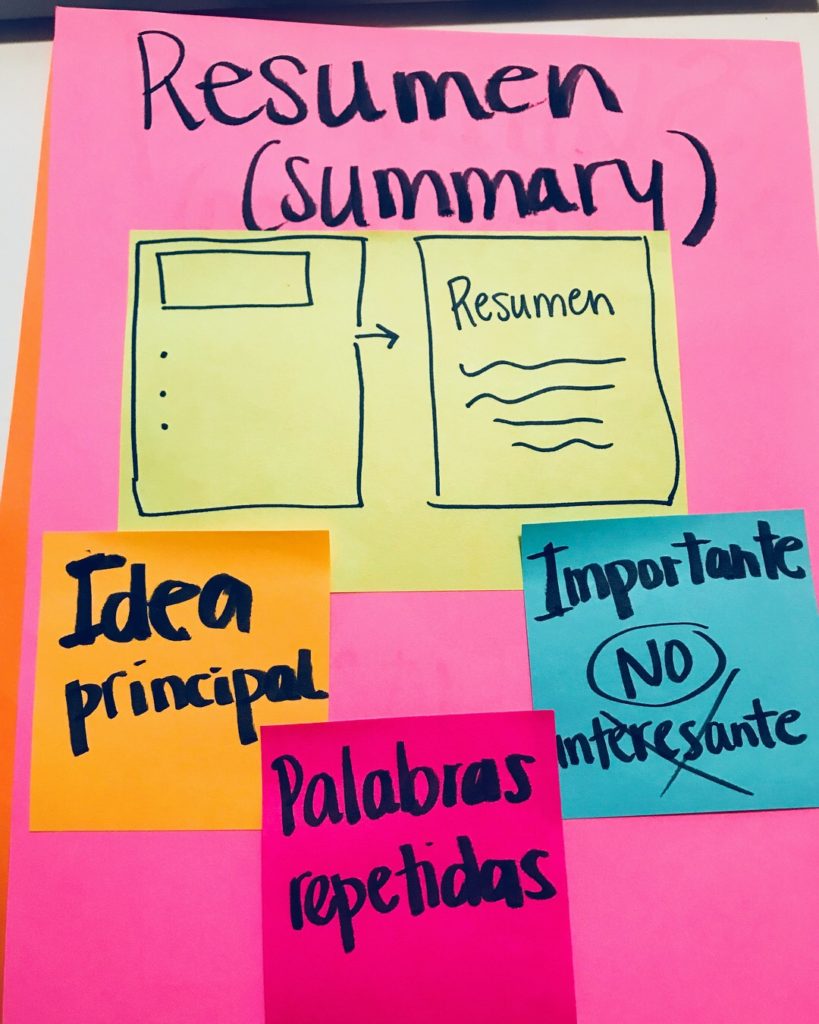
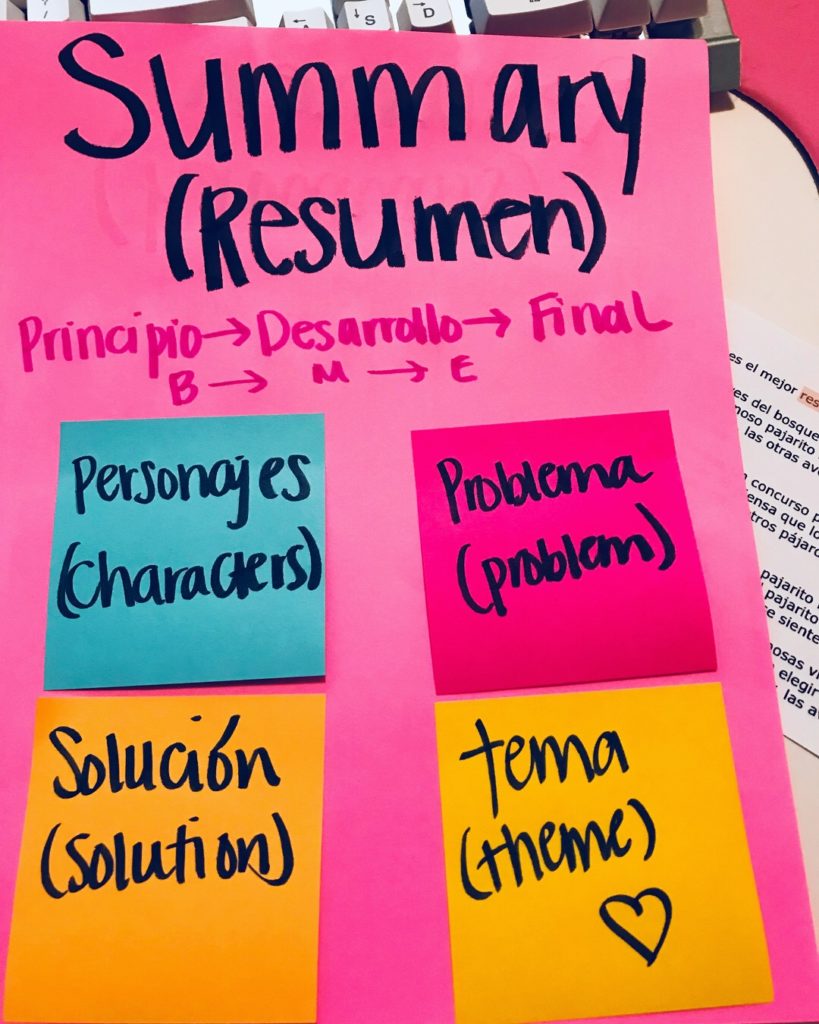
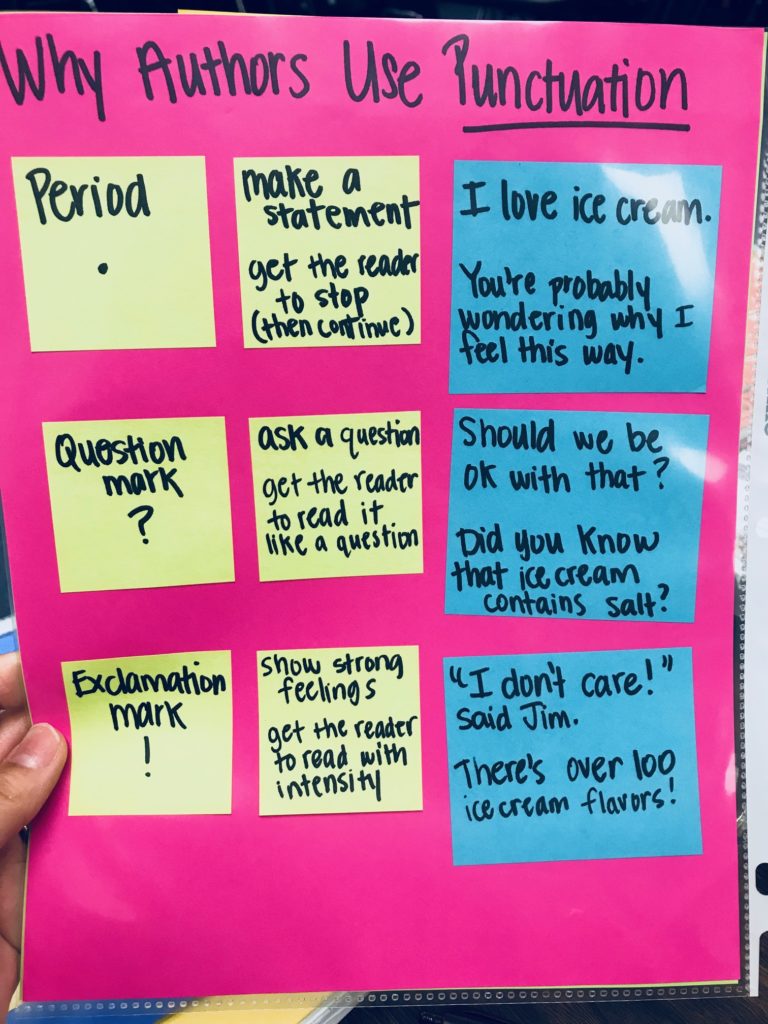
In case you’re wondering what a toolkit looks like, here are some pictures of my reading toolkit. (I also have a writing one that’s not pictured.)
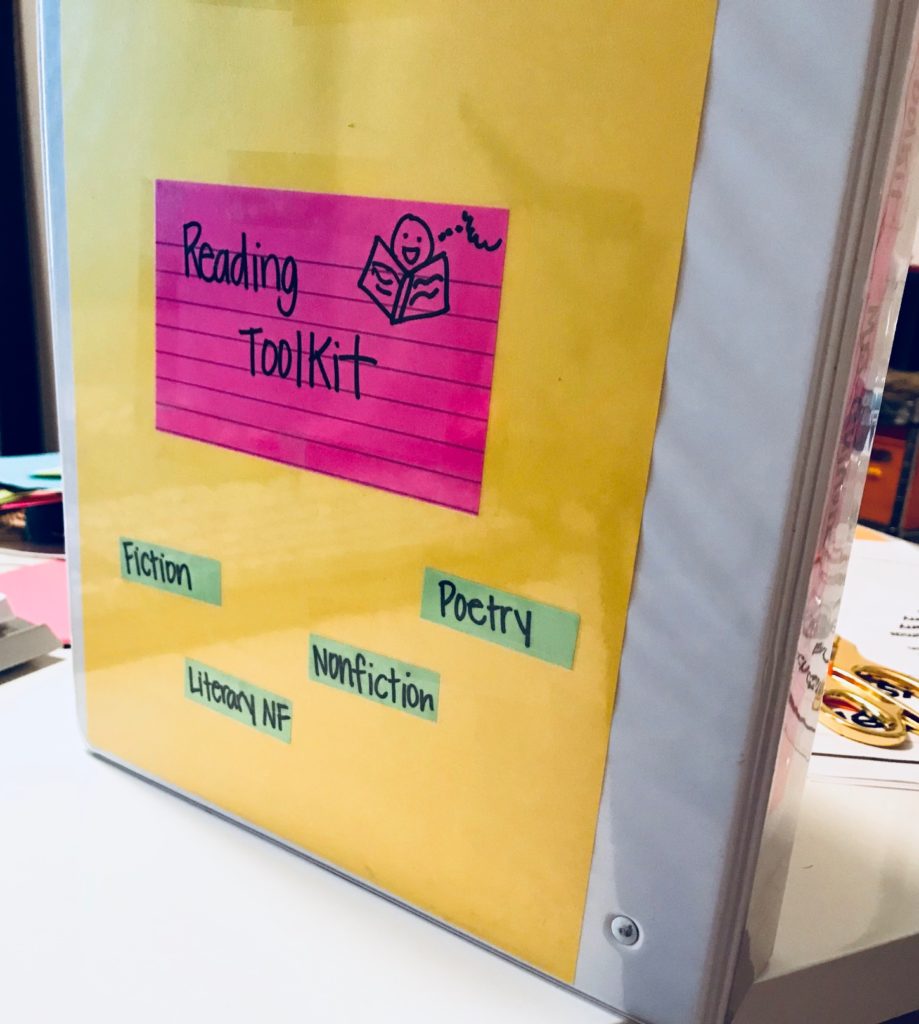
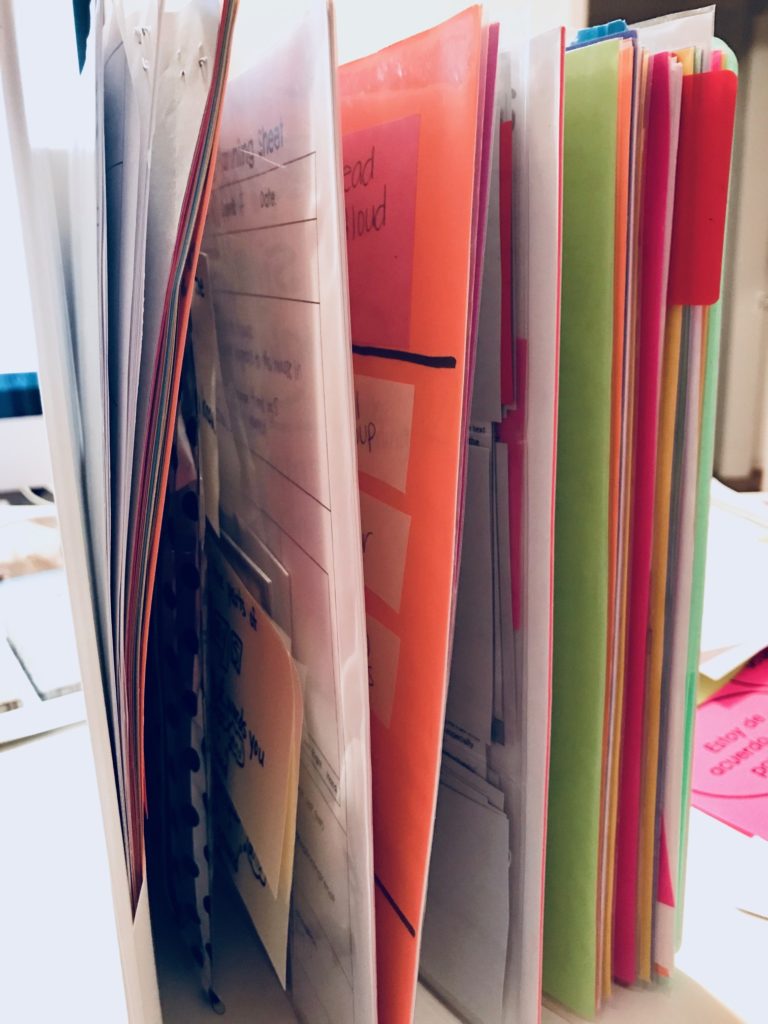
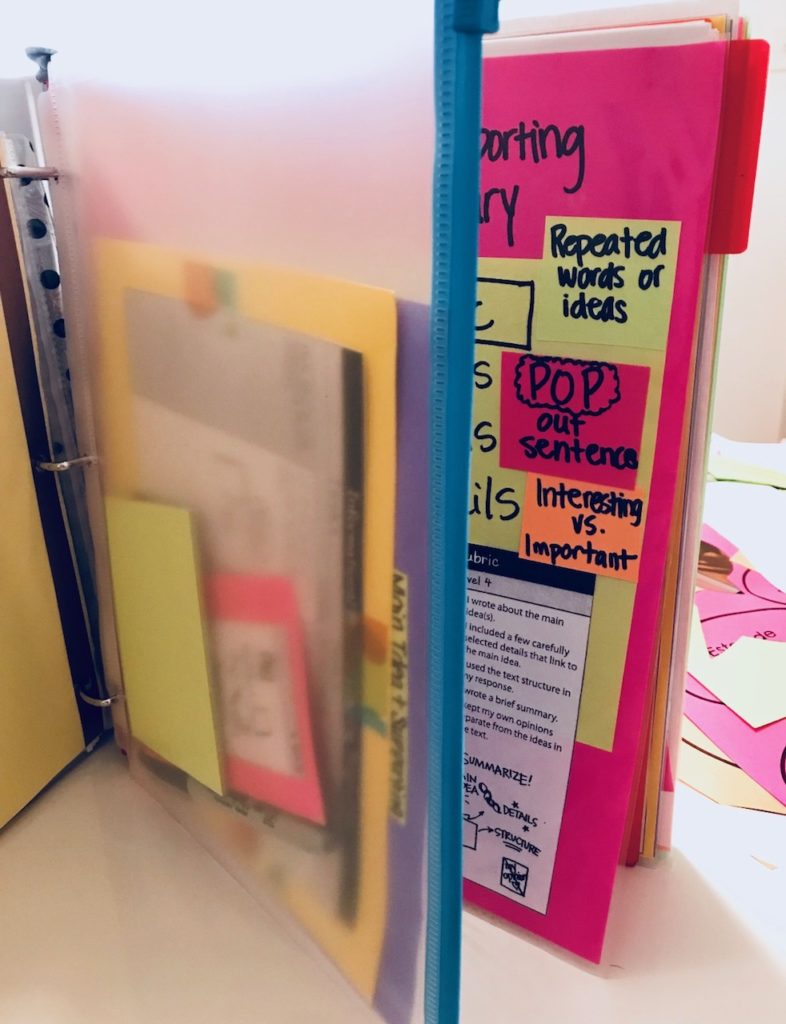
Inside this binder I have all of the tools I need to teach small group lessons in reading.
OK, so now that you know what it LOOKS like, want to know how I use the toolkits? Well, keep reading!
Let’s pretend I have a few students in my class who are struggling with comprehension. I would call those students (no more than four at a time) over to my kidney table and I would have the following mini anchor chart (see below) ready to show them and teach from. Side note: make sure your students bring a book they’re currently reading, at their reading level, to the kidney table.
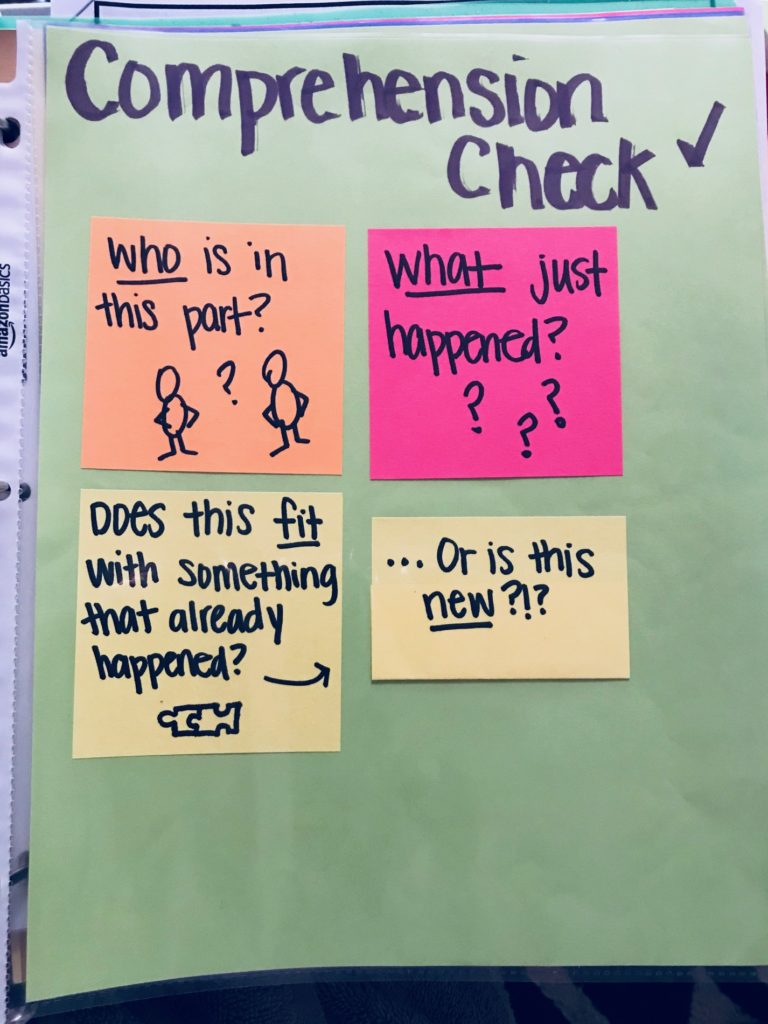
I’d start my small group lesson by saying something like, “Readers, you’re doing such a good job at reading independently. However, in order to ensure that you are understanding what you are reading, you need to make sure you stop often and ask yourselves some important questions. Today I’m going to teach you how to stop and check for comprehension by asking yourself (1) who is in this part? (2) what just happened? and (3) does this fit with something that I’ve already read or is this a new event?” Remember that the anchor chart should look like a skeleton when they first arrive to the table!
The small group lesson would then continue with me modeling for them what it means to check for comprehension by reading aloud a snippet of a book they’re familiar with, and perhaps jotting down or thinking aloud answers to the questions posted on the anchor chart. Then I say, “OK readers now I want YOU to give it a try. Open your books and begin reading.” The students would start reading their own books and then I would coach in to each student and refer back to the anchor chart as needed.
At the conclusion of my small group, I remind them one final time what it means to do a comprehension check . The students then go off to practice what I just taught them and now I’m ready to pull another small group to my kidney table.
OK, so now that the small group lesson is over, what do I do with the mini anchor chart I just created? Throw it away? No! I place it inside a sheet protector so that I’m able to use it for my next small group, my next class period, or even to use for the next school year!
You’ll quickly realize that after creating several mini anchor charts, you’ll want to start organizing them by genre, unit, and/or or based on your district’s curriculum calendar. In my opinion, a binder is the only way you’re able to shuffle things around to fit your needs. The best part is that you’re able to take the binder with you anywhere you go and use it for the rest of your teaching career. This is why I love the idea of toolkits, because as teachers, we do NOT have time to reinvent the wheel.
Here are some additional photos of the toolkits I have in my reading and writing binders.
Do you like this idea? Comment below. 🙂